

When you notice that something is missing on your Mac, it’s crucial to act quickly. The first step is to immediately stop using your computer. Continuing to use it can make it more difficult to recover your files. This is because using the drive can overwrite the deleted files, making them impossible to recover.
To prevent this, minimize any activity on the disk. Avoid installing new applications or saving files until you’ve attempted to recover your lost data.
Now, let’s explore step-by-step approaches, from checking the Trash Bin to utilizing built-in recovery features, ensuring a thorough process for regaining access to your precious data.
By following these detailed instructions, you can retrieve your files efficiently, minimizing the impact of data loss on your Mac.
1. Check the Trash Bin
Deleted files often remain in the Trash Bin until it’s emptied. Before embarking on an extensive search, take a quick peek inside the Trash Bin. There’s a chance your missing files could be waiting there!
To restore a file from the Trash Bin, simply locate the desired file, then double-tap or right-click on it and select “put back.” This will return the file to its original location.
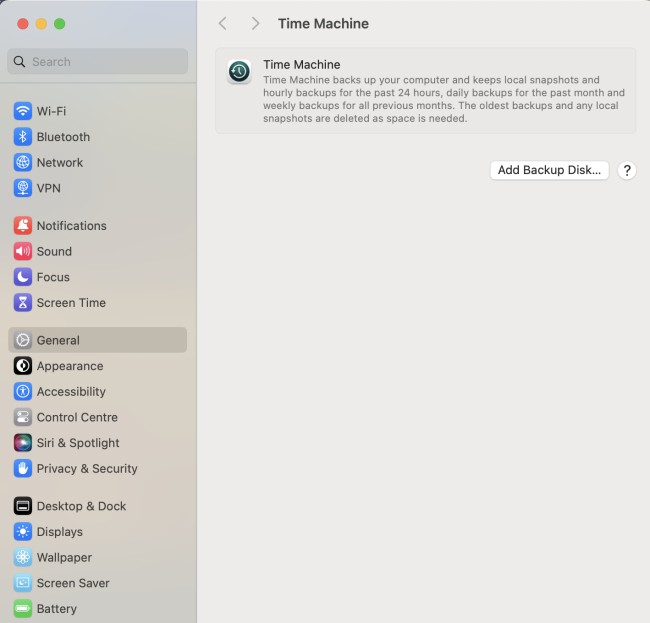
2. Time Machine Backup
Macs come with a handy tool called Time Machine. If you’ve set it up, you can go back in time and find your lost files. Just open Time Machine preferences, choose your drive, and look through the timeline to find what you need.
Additionally, it’s essential to check if you have any backup of the data stored on iCloud or any external storage device.
3. Use MacOS Built-in Recovery Features
Did you know that macOS has built-in features to help you recover lost files? It’s true! Here’s how to use them:
- Open Finder and go to the folder where your files were stored.
- Right-click on an empty space and choose “Show View Options.”
- Tick the box for “Recently Deleted Items” and see if your files are there.
4. Try Mac Data Recovery Software
If you’re still unable to locate your files, don’t worry! There are solutions available to assist you. These programs are designed to scan your Mac for missing files and provide you with the option to preview and restore them.
One such user-friendly solution is Stellar Data Recovery software for Mac. With its easy interface, you can quickly initiate a scan of your Mac’s storage to retrieve your lost files.
1. Download & Install Stellar Data Recovery Software for Mac
- Visit the Stellar website and download the Data Recovery software for Mac.
- Once downloaded, double-click the installer file to begin the installation process.
- Follow the on-screen instructions to complete the installation.
2. Open the Software and Select What to Recover
- Launch the Stellar Data Recovery software from your Applications folder or by clicking on its icon.
- You’ll be greeted with the main interface. Here, you can choose what type of data you want to recover (e.g., Documents, Photos, Videos, etc.).
- Select the file types you want to recover by checking the respective boxes.
3. Select Where to Recover From and Click Scan
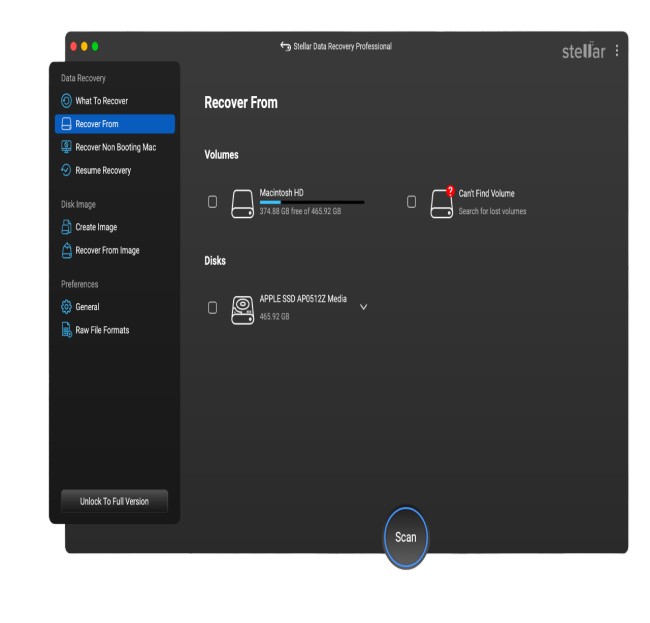
- After selecting the file types, click on the “Next” button.
- You’ll be prompted to select the drive or location from where you want to recover the lost data. This could be your Mac’s internal drive, an external hard drive, or any other connected storage device.
- Choose the drive/location and click on the “Scan” button to start the scanning process.
Once the scanning process begins, Stellar Data Recovery for Mac will scan the selected drive or location for lost or deleted files. As the scanning progresses, you can track its progress and view an estimated time remaining.
As files are detected during scanning, they will appear in the software interface as recoverable items. You can then click on individual files to preview them and ensure their integrity before proceeding with the recovery process.
4. Preview & Save the Files
After previewing the files and ensuring they are recoverable, select the files you want to recover.
- Click on the “Recover” button.
- Choose a location on your Mac where you want to save the recovered files.
- Click “Save” to begin the recovery process.
- Once the recovery process is complete, you’ll find your recovered files in the chosen location on your Mac.
The best way to avoid losing your files in the first place is to back up your Mac regularly. Whether you use Time Machine, an external hard drive, or a cloud service, make sure you have a copy of your important files somewhere safe.
Wrapping Up
In conclusion, when faced with the daunting task of recovering lost files on your Mac, it’s essential to act swiftly and methodically. Remember to cease all activity on your computer to prevent further data loss, and avoid installing new applications or saving files until recovery attempts have been made.
Explore various methods such as checking the Trash Bin, utilizing Time Machine backups, and leveraging MacOS built-in recovery features to locate your missing files.
If these methods prove unsuccessful, consider using reliable Mac data recovery software like Stellar Data Recovery for Mac, which offers a user-friendly interface and efficient scanning capabilities.
By following these steps and prioritizing regular backups, you can minimize the impact of data loss and safeguard your valuable files for future peace of mind.