
Having the idea for the next commercially successful product is just the first step in the development cycle. A random doodle, a great sketch on a napkin, or a 3D model rendering can undoubtedly get the juices flowing. But you have to come up with a better plan to get the idea from excitement to the market.
A powerful tool that helps companies turn ideas into realistic proofs of concept, rapid prototyping provides an opportunity for product designers and engineers to develop high-fidelity prototypes of their products to simplify the manufacturing process further.
The rapid prototype models should work and look like the final product, and help the developers guide the product through a series of validation stages toward mass production.
Product developers have been creating hardware prototypes for several decades now. But the methods, tools, and materials used to develop those models have evolved greatly.
With modern rapid prototyping tools like 3D printers, development teams nowadays can create prototypes straight from CAD data.
They can instantly execute numerous rounds of design and functionality revisions based on real-world testing and receive the much-needed feedback at a considerably lower cost than ever before.
In this article, we’ll discuss some of the insights we collected from prototyping experts to help you optimize your rapid prototyping workflow to be as cost and time-efficient as possible.
1. Pick The Right 3D Technique And Materials For Your Project
To pick the right prototyping equipment and materials, a process that is tightly connected to the cost of the whole project, first you need to know what you need from your prototype. Are you going to develop a prototype model for visual demonstration only or test the mechanical attributes of your product design too?
Figuring this part out will help you choose the right technology for your prototype and the right materials. If you need to manufacture a basic concept model, end-product finish and details may not matter in the prototype.
That way, you can cut significant costs on both production methods and materials. Lookalike prototypes require manufacturing technologies and materials intended for fine details and high-quality surface finishes.
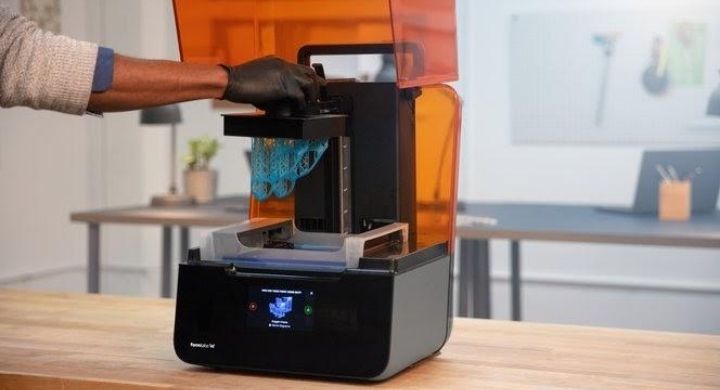
Fully functional prototypes might need to withstand mechanical stress and have specific properties like optical transparency, which can be achieved through the stereolithography 3D printing method.
2. Assemble More Parts From Multiple Prints For Your Rapid Prototype
Printing larger parts and prototypes can be a lengthy and expensive process, as you will need to outsource a large industrial printer for the prototype.
Splitting a model into smaller printable parts is an excellent solution for creating objects bigger than what fits the given 3D printer’s build volume.
Talk to designers to add features to the design that will allow the print to align together, or split the parts with straight cuts and align them together during the fastening process.
If you are wondering what type of bonding method should you use for the rapid prototype. Make sure that your primary consideration is the strength of the bonded joints, as everything goes down to the ultimate use of the parts.
If you are developing a prototype that is not meant for practical use and shouldn’t sustain impact, you can use chemical fastening to bond the pieces together.
In case you are developing a more upscale model that needs a robust mechanical connection or want to attach and detach components repeatedly, screw some threads on the parts and bond them with mechanical fastening.

3. Reduce Or Eliminate Support Structures If You Don’t Need Them
Poorly designed prototypes can result in excessive support structures that lead to the use of more material, increase printing time of the prototype model, and require way more post-processing time.
Depending on the design, a model can be often printed with limited or without any support structures. The majority of print preparation software tools will enable the designer to experiment with different setups and see how they affect the overall print time and material usage before printing the prototype.
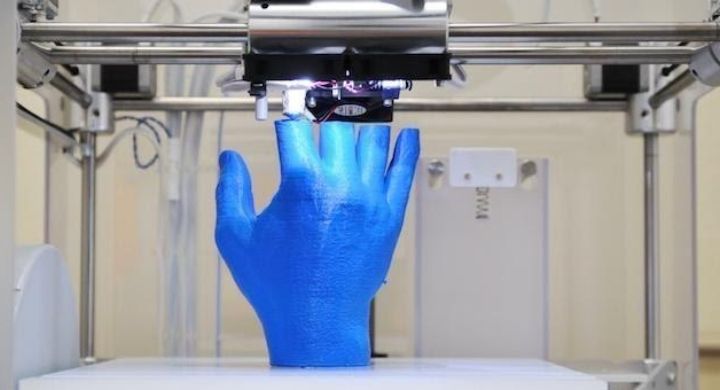
Consider what type of printer you will use to develop the initial prototype, as fused filament fabrication printers frequently require excessive support structures for designs with complex shapes, overhangs, and angles.
On the other hand, selective laser sintering 3D printers don’t need support structures because the powder acts as a backer for the parts when printing.
4. Optimize The Design Of The Prototype
As 3D printers offer a great deal of design freedom, consider optimizing part geometries to ensure a high-quality prototype model and efficient printing.
The most frequent optimizations involve: eradicating or supporting steep overhangs and angled walls, maintaining wall thickness at or over minimum specifications, adding drain holes for hollow designs, and using lattice structures to accomplish the ideal balance between material usage, part strength, and print speed.
5. Automate Post-Processing
Right after the printing itself, post-processing is the second most time-consuming aspect of prototyping with 3D printing technology.
Some printing techniques require less work than others, but in general, all 3D printed prototypes demand a certain level of post-processing.
Even though in the case of printing prototypes manual post-processing is generally sufficient. If you frequently use 3D printing services for developing prototypes and later manufacturing applications that require high volumes, automated post-processing solutions offer real value in terms of reducing labor time and costs of the finished product.
The three most frequently used post-processing tools include automated surface finishing, automated support removal, and automated dyeing of printed parts and prototypes.
Final Words
Many famous industries heavily rely on rapid prototyping through 3D printing before committing to a mass-production of a specific part or end-product.
Rapidly developed prototypes can undoubtedly save precious time, and hefty amounts of money and help design and product development teams understand the product better.
Get your next big product idea onto a CAD file, create a rapid prototype model, and begin the development cycle of your next big hit.