
VideoProc is one of the best 4K DJI drone video editors for newbies with full GPU acceleration to convert audio and Video files virtually to any other format. It also helps in processing Ultra HD 4K, high frame-rate, lengthy videos quickly and smoothly without loss in quality.
VideoProc is a DJI/4K video editing software that seamlessly accepts all resolutions, including 2.7K, 4K, and 8K. It also comprises of some great video editing features.
It can also help you in cutting and Joining video clips flexibly and precisely, fix shaky footage, remove background noise, get rid of lens distortion, and adjust brightness or colours.
DJI users mostly choose its default application, DJI GO 4 for shooting, editing and sharing videos on their mobile devices. But such mobile app is not able to cut a video accurately enough, or to support higher than 1080p/2.7K resolution (say, 4K/8K) output.
Good News: VideoProc is carrying out a simple online survey for DJI users to have a good chance to get full license of VideoProc for free.
Why DJI Users choose VideoProc:
- It can Process DJI videos smoothly.
- Split/Cut: remove any unwanted clips, such as crash from the last flight.
- It can Stabilize shaky videos from the captured frames and remove the interference caused by wind.
- Users can add effects such as Noise, Negate, Mosaic amongst others
- It is possible to add subtitles and merge different videos to create a single file
- It helps in removing fisheye distortion.
- Adjustments like brightness, saturation, contrast, etc. are also possible.
- Convert to any desired format and compress file size for uploading and sharing on YouTube, Facebook, Twitter, etc. with the best quality.
How to Use VideoProc Software for DJI Video Editing:
Step 1: Make sure the software is installed. Launch it and click the Video button on the main interface, you will be taken to another screen where you have to click + Video on the upper left corner, and then navigate to the folder where the Video is placed.
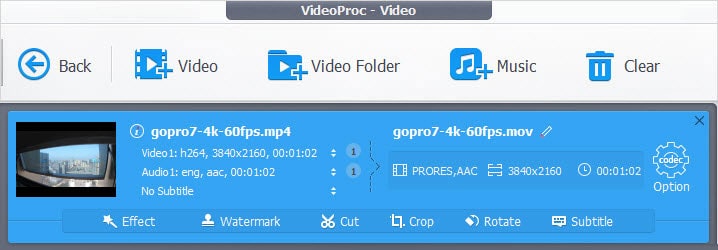
Step 2: Once this is done, the next process is to start editing your Video. This software allows you to make several adjustments, including cut, merge, crop, rotate, and change speed. All of these are neatly placed, so you have quick access to them.
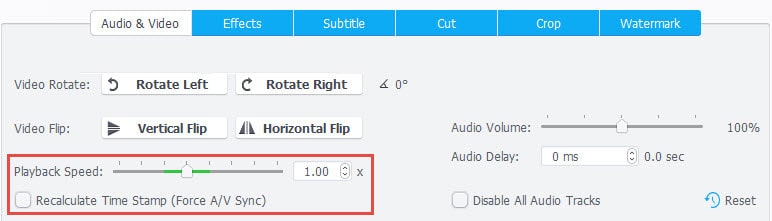
You can even search for features such as adding a watermark, effects, subtitles, as well as shaking and pristine videos.
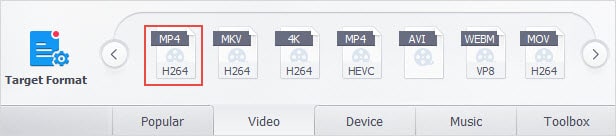
Step 3: Once you have made the necessary changes to your Video, the next step is to perform and wait. Make sure you select the MP4 4K from the target format and also select the appropriate folder. Once done, press Run and wait for the video to be encoded.
Watch this video on youtube